Showing posts with label quilts for christmas. Show all posts

Quilt#5 Done, YAY!

I wasn't too sure about the all over leaf pattern on this one but once I bound it and washed it I really love it. I think washing it really helped the quilting show up better and you can see the leaves really well. 


After taking all the photos for the quilts I think I need to jazz up the backs more. Give them a little something something. We shall see.

Grey ZigZag (Quilt #2) Delightfully Done

This grey zig zag quilt has been my favorite one through all five quilts. I just love the colors and the quilt design and the quilting. Definitely my style.


Aside from losing a quilt block (which I found under my bed) this quilt was a breeze. I'll definitely use this design again if I ever need to make up a quick quilt for someone.

Purple & Green Windows (Quilt#1) complete

Since this was the first quilt I started piecing there's not a lot I have to say about this one. It was sort of a learning quilt. Learning that 1/4" seams are something to really strive fore. I'm still learning. 


I am really please with the way it turned out even though the backing did bleed a little on a couple of the white fabrics on the front when I washed it, which is a little annoying since I washed and dried the flannel 3 times before I put them together, but oh well. Since the flannel is SO soft I'll forgive it.
Hopefully my cousin will love it.

Brick (Quilt #4) Bound & Beautiful

Once again a rush of euphoria. I think finishing a quilt is my new drug of choice. ;)


This quilt gave me a run for my money, but I powered through and am really please with how it turned out. The blue background doesn't quite go with the front but I purchased it back when I had a slightly different quilt design in mind and once I changed the quilt design I didn't think it mattered that much that I needed to buy more fabric. It's how it feels that matters more and since its snuggle flannel if feels lovely.

Blue Zig Zag (Quilt#3) is DONE!

I did the binding on Quilt #4 first out of all five quilts because it has the busiest patterned fabric and since this was the first time I've ever bound a quilt I figured I should start with one where my mistakes wouldn't show quite so bad.


When I finished this quilt I had the biggest rush of excitement! It felt SO wonderful to have it completed and well in advance of Christmas. Such a sense of accomplishment. Binding might be my favorite part of making quilts. Maybe because once that's done, you have a finished quilt all ready to wash, dry and snuggle. A quilt fresh out of the dryer by the way is heaven. Especially one you've made yourself.

Quilt #5 quilted

Quilt #5 was quilted at A Better Quilt like the previous four and I chose an edge to edge leaf pattern that had all sorts of different leaf types represented. 

The quality of the quilting is really wonderful but I'm wondering if I should have chosen to quilt it with straight lines to really highlight the squares. Hmm, well I'll bind it and wash it and then see how I feel.
Binding on the other quilts is going really well.

Quilt top #5 done!

Again, not my best work, but I think once it's quilted it'll look twice as good. I really love the design and I think I'll use it again in the future. I think the border might be a bit too big, I may trim it down.

I think I'll choose a bear or all over leaf pattern for the quilting. This is more foresty than mountainy but I think it'll work just fine for my outdoor loving folks. 

I've got the binding cut out for 4 out of the 5 quilts and have 5 days to get them all complete before we leave for vacation. Pressure's on. 

Quilting

While I would have loved to have quilted each of the quilts myself there was no way on God's green earth that I was going to have the time to quilt each one before Christmas. So I took them to Judy at A Better Quilt and within 3 days she had all 4 quilts complete. They are BEAUTIFUL.

Quilt #1 Front
Quilt #1Back
I used quilting flannel for the backs because I want them to be all soft an snuggly. Right now they are still a little stiff but once I add the binding and give them a wash I think they'll soften up wonderfully.

Quilt#2 Front
 I am THRILLED with how the quilting came out for Quilt #2, definitely my favorite out of the four.
Quilt#2
Since the pattern of the fabric for Quilt #3 was so busy we just did a simple meander pattern.
Quilt #3

 It took me forever to pick the quilt pattern for Quilt #4 but we eventually got it and its lovely.

Quilt#4 Front
Quilt#4 Back
Now all I have to do is add the borders and possibly a label and they will be complete!

And then there were 5

As I was piecing quilt #3 I became increasingly aware that while the color scheme would be fine for my folks,' stylistically it just wasn't them. The paisley fabrics were just too traditional for their mostly native american decorated home. They live in the mountains and I felt they needed a quilt that more accurately reflected their style.
So scrolling through Pinterest (a highly addictive site) I came across this quilt:

I figured it'd be perfect if I could find the right fabric. So after LOTS of searching for something 'mountainy' I came across Birch Bark Lodge by Holly Taylor and a beautiful neutral that looks like sandstone. 

 The Birch Bark Lodge is really great, it's got all the same colors that are in my folks living room rug.


I'm really excited to get it all together and see how it looks.

Quilt top #3 complete!

A month over when I'd hoped to have all four quilt tops completed but I'm very glad that I got them finished before December. 
I learned the hard way with Quilt #3 that you can't sew the two borders together and then sew them to the quilt. Many frustrated stitches ripped out and patched in pieces later it is finished. 

Unfortunately this one has a LOT of tenting going on and I'm afraid I don't know what to do to fix it. I'm sure I probably needed to catch it before adding the borders but oh well. I'll just push forward like I always do. 


Well, on to backing & quilting. I'm sure I'll make all sorts of mistakes with those ;)

Quilt #3 almost done

Another zigzag quilt top almost under my belt. I really like how quickly this no-triangle zigzag pattern goes together. Even when the first 14 blocks get sewn together backwards and need to be re-done. ;)
The fabrics are the same as quilt # 4 except I used the blue paisley instead of green as the 'solid' color.
I think the zigzags would have been more defined and the patterned fabric more of a feature if I'd chosen an actual solid color fabric instead of the blue paisley. Oh well.

So now all I need to do is add the borders and I'll have all four quilt tops finished! Woo hoo!

Quilt-top #4 complete

Whew, I'm very happy to say that Quilt-top #4 is complete.
This one was probably the most challenging to finish because of the wonkiness at the bottom.

It's definitely not perfect but looks fairly decent with the borders added. I wished it photographed better, it looks a little washed out. The fabrics are lovely and I think it looks pretty good in person.

I'm sure there was a better way

I'm pretty sure I pieced Quilt # 4 together in the most time consuming and ill-conceived way possible.

I didn't follow a pattern (I could have), I just planned it out all in my head and a little on paper and figured it'd all work out. That is SO not the way to make a quilt when the total number of quilts you've ever made can be counted on one hand. I'm still a newbie/beginner/novice when it comes to quilting so you'd think I'd use more sense and follow a pattern. Naw, not me, I figure if I can draw it on a piece of paper I can make it with out any issues. Ugh, every pitfall I inevitably fall into is a hole I dug myself.

I was tempted to stop at a certain point so that I could just add the borders and be done but I asked my husband for his opinion, should the bricks be all lined up or off set.


He suggested offset and I agreed.

So all 9 columns are complete, each column has 7 1/2 'bricks'. That's when things started to go downhill.
Each column I would sew on was shorter than the column before it. How in the world can I start off with the exact same dimensions on every piece of fabric and end up with 9 columns each one successively shorter than the one before? HOW DOES THAT HAPPEN!?!?! It would make total sense to me if I had one long, one short, one long, one short, or some sort of variance but COME ON, every one shorter than the one before it?! Sheesh.


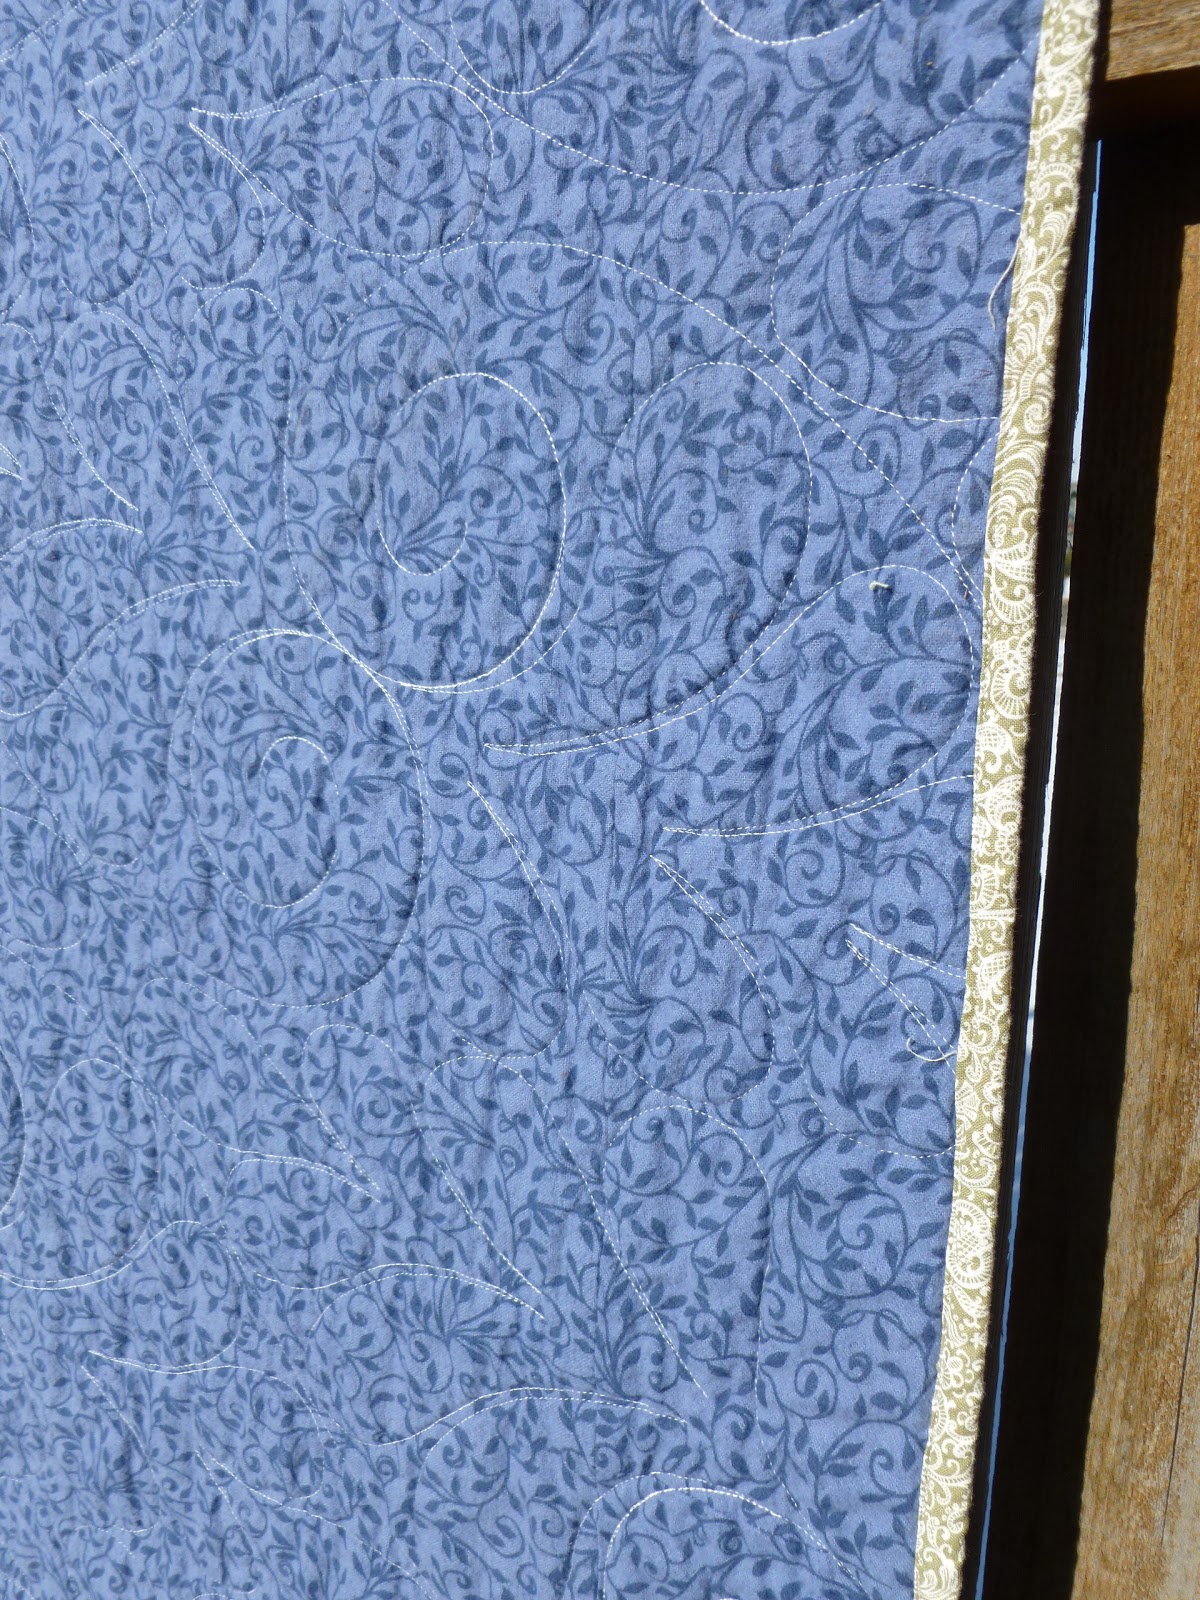
And here it is almost finished:


Now I have to figure out how to square it up a bit before adding the borders

First two quilt tops are done!!

Two down, two to go. The purple & green quilt top didn't turn out too bad considering the trouble I had with making the squares. I decided to only do one border instead of two because it's getting enormous. I wanted it to be a lap quilt but it probably could fit a twin size bed if I added the bigger border. I like how it looks so I'm going to leave it as is and the binding will give the edge a little somethin somethin.


I am SO pleased with how the zig zag quilt top came out. Love love love it. Can't wait to start quilting. You may have noticed I didn't post a 'stitch happens' moment on the zig zag quilt which could possibly indicate that it went together like clockwork without a hitch in the process. Well the tag line for my blog does include 'pitfall' so this project didn't escape either. I lost a quilt block and I didn't put enough blocks together at the beginning so I had to rip out a couple stitches and sew in the necessary blocks. Luckily I figured this out before I got too far along and the blocks are SO simple to put together that didn't cause too much of a kerfuffle. I definitely need a better place to take pictures of completed quilt tops (& eventually completed quilts!!)


Quilt tops #3 & 4 shall commence shortly. I think I'm going to go with another zig zag quilt and a brick one similar to Amy Smart's Brickyard.  One will be for my Mom & Dad and the other will be for my Aunt & Uncle.

Quilt #2 Ziggin n Zaggin

I absolutely love the look of zig zag quilts and don't have anywhere near the time or expertise to do one using triangles so I was thrilled when I came across this ladies' lovely tutorial using rectangles. Even better was strip piecing (at least I think that's what it is), where you sew two larger pieces together and then cut the blocks from the large sewn piece. Less piecing and fewer seams to mess up, sounds good to me.

I am really loving how quickly my second quilt top is going together. It only took me about 8 hours total to cut all the strips, sew together and then cut into blocks.


 Here's the top half, I need a bigger table or a cleaner floor in order to layout the rest.