Since my previous attempt at sashing was fairly mediocre I decided for my mother-in-law's birthday quilt that I should probably do a test block.
Aditionally my cardstock 1/4" seam guideline isn't a very good long term solution since I have to remove it every time I need to change the bobbin. Plus I get sticky tape residue & fabric lint all gunking things up.
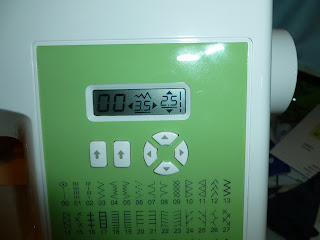
I did a little experimenting with my sewing machine and found that I can actually move the needle left or right. Sweet!
 |
| Initial settings |
 |
| Needle moved to the right |
So I moved the needle to the right a few clicks (6 ended up being the magic #) and I can now use the edge of my presser foot as a guide. Excellent.
 |
| See, needle no longer center |
I can now sew scant 1/4" seams, the importance of which I learned about here.
So I sewed up a couple test blocks using some scraps and found that the way I press the seams also effects how the block looks.
On the first block I pressed the seams towards the dark fabric on the small white pieces and towards the white on the long white piece and found that the small white pieces seemed to recede and look uneven from the long white piece.
On the second block I pressed all the seams towards the white fabric and now everything looks even. Very nice.
Armed with my newly found sashing knowledge I've started chain piecing. Can't wait for my additional fabric to arrive!


No comments:
Post a Comment